
 +971 50 945 1020
How to Install a WiFi Access Point in a UAE Office (Step-by-Step Guide)
By Netbiz Technology LLC · 7 September 2026
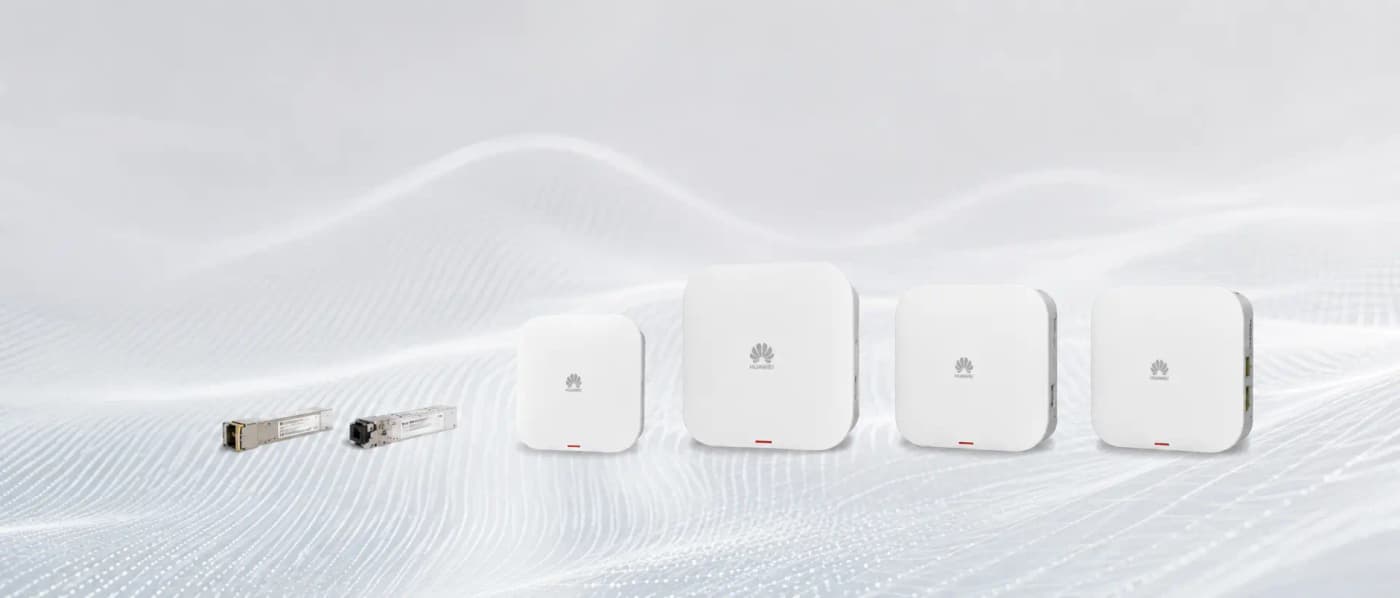
Installing a WiFi access point correctly in a UAE office involves six steps: planning your AP positions, running Cat6 cable, connecting to a PoE switch, mounting the AP, configuring channel assignments, and setting up management via the eKit app. Skip any step and you will have coverage gaps, interference, or management headaches. This guide covers each step in enough detail for a competent IT person to execute the installation.
Step 1 — Planning: Floor Plan and AP Count
Before ordering equipment, draw or obtain a floor plan of the office. Mark all permanent walls (especially concrete or block walls), meeting rooms, server rooms, and areas with high device density. Use the 1 AP per 1,500 sqft rule for a typical UAE concrete office building as your starting AP count, then add one per meeting room.
Mark your proposed AP positions on the floor plan. Aim for even coverage with 20–30% overlap between adjacent AP coverage areas — overlap ensures seamless roaming when a device moves between AP coverage zones. Avoid placing APs in corners (wasted coverage outside the building) and avoid placing them on the same horizontal plane as metal ductwork or cable trays.
- Mark AP positions: centre of coverage areas, not corners
- Mark cable route from each AP to the nearest network cabinet or PoE switch location
- Note any obstacles: concrete beams, HVAC units, fire doors (all attenuate signal)
- Identify power source for the PoE switch — most UAE office network cabinets have a 13A socket
- Check ceiling height and ceiling type: suspended grid ceiling allows easier cable runs than poured concrete
Step 2 — Cable Run: Cat6 from Switch to Each AP
Run a Cat6 (or Cat6A) cable from the PoE switch location to each AP mounting point. In a UAE office with a suspended ceiling, cable runs above the ceiling tiles are the standard approach. Use cable ties or a J-hook every 1.5 metres to support the cable. Do not bundle data cables tightly with power cables — run them at least 150mm apart to avoid electromagnetic interference.
- Maximum Cat6 segment length: 90 metres (keep 10m for patch leads) — total 100m limit
- Use outdoor-rated Cat6 if any portion of the run is through UAE outdoor or rooftop areas
- Label both ends of each cable with permanent marker or cable label (AP location and switch port number)
- Terminate with RJ45 plugs or keystone jacks: use T568B wiring standard consistently
- Test each run with a cable tester before mounting APs — much easier to re-run cable before the ceiling is closed
Step 3 — PoE Switch Connection
Connect each cable run to a PoE switch port. Huawei eKit S310 or S110 PoE switches are the natural pairing with eKit APs. The switch delivers both data and power (PoE IEEE 802.3at, up to 30W per port) over the same Cat6 cable — no separate power supply at the AP.
Connect the switch's SFP+ uplink port to your core switch or router using a fibre patch cable or DAC (Direct Attach Copper) cable. Configure the uplink port as a trunk carrying all VLANs you plan to use (staff, guest, CCTV, VoIP). If this is a single-switch installation, connect the PoE switch directly to your router or firewall.
Step 4 — Mounting the AP (Ceiling vs Wall)
Ceiling Mount (AP371 and similar)
Ceiling-mount APs typically use a bracket that attaches to the ceiling tile grid or a junction box. Feed the Cat6 cable through the mounting bracket, terminate it in the AP's Ethernet port, then snap or screw the AP onto the bracket. Orient the AP so its antennas are in the vertical plane (facing down into the space) — most APs are designed for this default orientation.
Wall-Plate Mount (AP362E and similar)
Wall-plate APs like the Huawei AP362E replace a standard dual-socket wall plate. Remove the existing wall socket (isolate the circuit first if it is a powered socket), feed the Cat6 cable through the wall box, connect it to the AP's uplink port, then mount the AP faceplate. The AP provides its own Ethernet ports for local devices — connect the room TV or IP phone to these ports.
Step 5 — Channel Planning to Avoid Co-Channel Interference
Two APs on the same channel within radio range of each other will contend for airtime, degrading performance for clients of both APs. For a multi-AP installation, assign channels to adjacent APs such that no two overlapping APs share a channel.
- 2.4 GHz: only three non-overlapping channels (1, 6, 11) — use these exclusively, in a repeating pattern
- 5 GHz: many non-overlapping channels (36, 40, 44, 48, 52, 56, 60, 64, 100–140 range) — UAE TDRA permits most UNII-1 and UNII-2 channels
- Auto channel assignment: Huawei eKit APs can auto-select channels on startup; verify assignments after installation
- Check for neighbouring networks: use a WiFi analyser to see which channels neighbours occupy and avoid them
Step 6 — Management Setup with the Huawei eKit App
Huawei eKit APs are managed via the eKit mobile app (Android and iOS). After physical installation and PoE power-up, each AP boots and broadcasts a temporary setup SSID or is discovered automatically if it is on the same network as the eKit Gateway or a previously provisioned AP.
- Download the Huawei eKit app and create or log in to your eKit account
- Scan the QR code on each AP or add via the app's device discovery feature
- Configure your SSID name and WPA3 password (or WPA2 for backward compatibility)
- Set up VLANs for guest, staff, and any other network segments
- Enable the radio management features: band steering, minimum RSSI, fast BSS transition (802.11r)
- Check the app's topology view — all APs should appear connected with green status indicators
Netbiz Technology LLC provides installation and commissioning services for Huawei eKit WiFi deployments across all UAE emirates. For businesses that prefer a managed install, we handle the cable runs, mounting, configuration, and handover — with a 12-month support agreement available.
Need Huawei eKit APs installed in your UAE office? Netbiz Technology provides full installation, from cable runs to app configuration. Message us on WhatsApp for a quote.
Book an AP Installation